



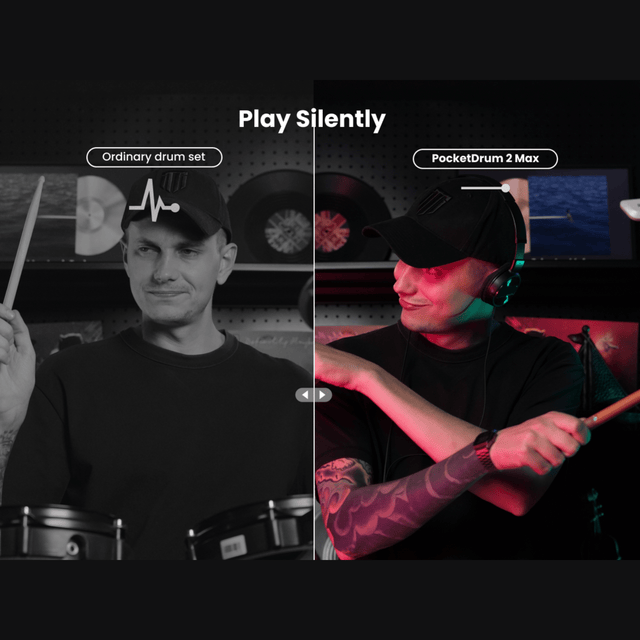



Aeroband PocketDrum 2 Max
- Drum anytime, anywhere
- Feel drumstick response without a full kit.
- Connect with Bluetooth or AUX
PocketDrum 2 Max – Portable Electronic Drum Set with Double Bass & MIDI Controller
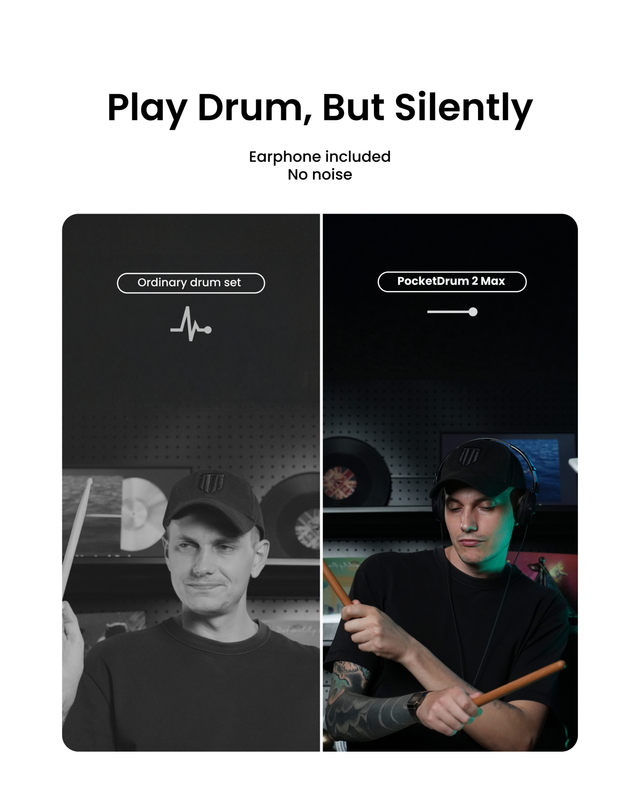
Play Anywhere, Anytime – Quiet, immersive drumming without disturbing others
Double Bass Support – Take your footwork to the next level
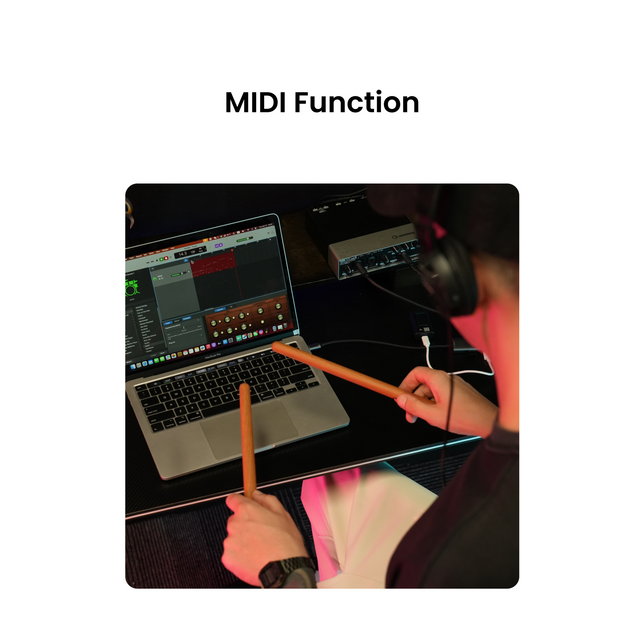
MIDI Controller Functionality – Connect to DAWs and music production software
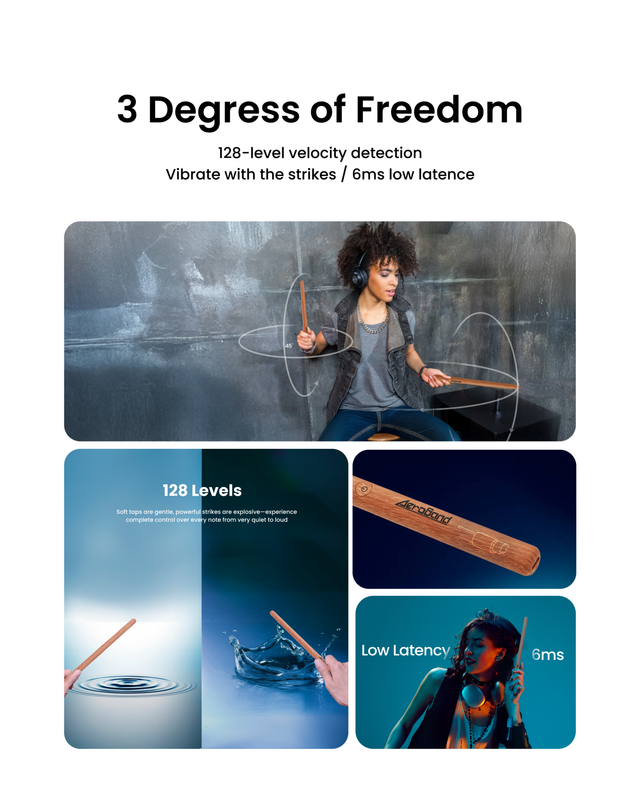
6ms Ultra-Low Latency – Realistic and responsive playing experience
No App Required – Simple plug-and-play setup
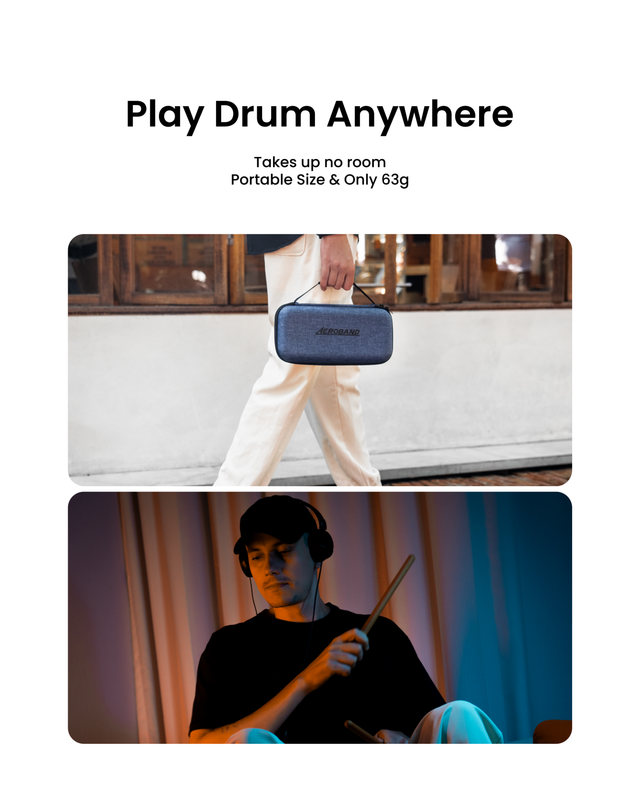
Compact & Travel-Friendly – Ideal for musicians on the go
Note: The PocketDrum 2 Max is NOW suitable for left-handed drummers.
Please watch the tutorial video to correctly set up the Pocketdrum before playing.
Real customers, real reviews


Frequently asked questions
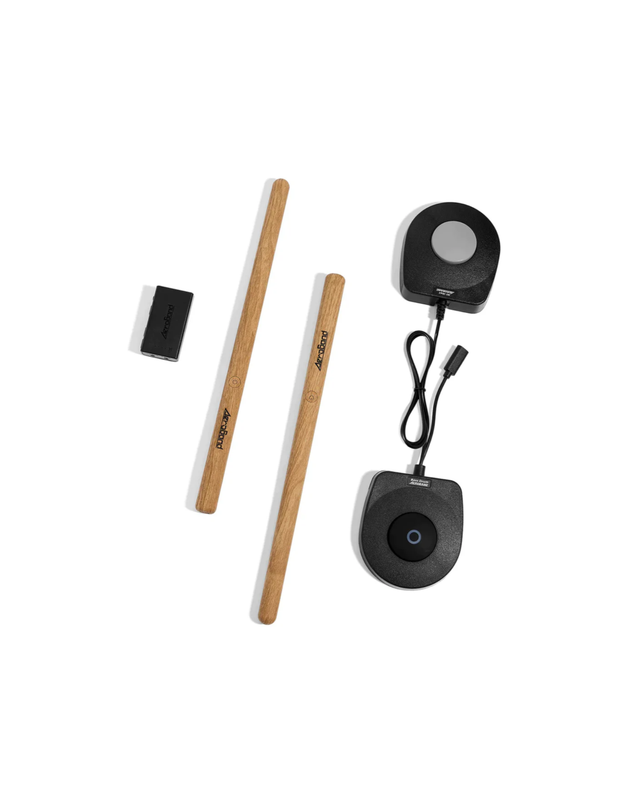
Your Aeroband PockeDrum comes with everything you need to start playing:
2 × PocketDrum Sticks
2 × Foot Pedal
2 × Type-C Charging Cable
1 × Type-C Midi Cable
1 × AUX Audio Cable
1 × User Manual
1 × Adapter (Type C to Type A)
1 × Wired headphones (3.5mm TRS)
1 × Drum Map
Note: The package does not include a carrying case or additional accessories unless specified in your order.
Absolutely! PocketDrum is beginner-friendly.
To play accurately, start by watching our instruction video—it is essential for learning the right techniques to master PocketDrum.
We provide a drum map to help you locate the position of each virtual drum.
With a bit of practice using the guide, you’ll be ready to start learning and having fun—no prior drumming experience needed.
To play accurately, start by watching our instruction video. It is essential for learning the right techniques to master PocketDrum. Here’s a step-by-step overview to help you get started:
- Power on and connect: Turn on your drumsticks, pedals, and adapter. The drumsticks and the pedals will automatically connect to the adapter.
- Use the Drum Map, not neccessary: Mount the included printed Drum Map on the wall in front of you. This map shows the exact positions of each virtual drum and cymbal.
- Proper stance and grip: Sit comfortably facing the Drum Map. Hold the drumsticks lightly but firmly, keeping your wrists relaxed.
- Practice hitting the correct zones: Use the Drum Map as a guide to strike each drum area with accurate stick angles and controlled motion (approximately 30°–45°).
- Learn drumming techniques: Follow the instruction videos to master wrist movement, stick control, and drumming timing to improve your playing accuracy and feel.
- Calibrate regularly: Recalibrate your PocketDrum as needed to maintain precise position detection, especially after extended play or switching modes.
- Build muscle memory: Practice consistently using the Drum Map and tutorial guidance to develop muscle memory and confidence, so you can eventually play accurately without the map.
Note: The drumsticks track motion and angle, not spatial position.
By following these steps and the video tutorial, you’ll quickly get comfortable with the PocketDrum and enjoy its versatile drumming experience.
We'll be upfront about this: the PocketDrum's calibration gradually drifts while you play. This isn't a defect — it's a characteristic of the technology.
The drumsticks use motion sensors (a gyroscope and accelerometer) that register your hits based on movement and angle, not on a fixed position in space. These sensors have a well-known trait: small measurement deviations slowly accumulate during play. This is called sensor drift, and it occurs in all motion-based devices, from VR controllers to smartwatches.
In practice, you'll notice it:
- After about 6–8 minutes of continuous play
- When the sticks touch each other (the impact disturbs the sensors)
- During extended high-speed play
Your hits will start landing on the wrong drum. Fortunately, recalibrating takes just a few seconds:
- Hold both sticks horizontally in front of you, at a 45-degree angle to each other (tips pointing toward each other).
- Short-press the power button on both sticks at the same time.
- Done — you can keep playing right away.
Think of recalibrating like tuning a guitar: it's part of the instrument, and after a few times it becomes second nature.
Please find the AeroBand PocketDrum instructions below.
Please note: PocketDrum is designed to work properly. It may take a little time and practice to get used to the playing feel, but the product functions as intended.
About the map:
The map is only a visual guide to show the drum layout. After calibration, you do not need to use the map to play or trigger the correct sounds. Many users find playing without the map feels more natural.
Recalibration Instructions
1) Stick position
Hold both sticks in front of you at about a 45° angle, slightly angled inward.
2) Hitting the upper drum area
To trigger the upper drum, make a gentle upward striking motion with both sticks (as if hitting the upper part of the drum set).
3) Hitting the lower drum area
To trigger the lower drum, move the sticks horizontally, flat and straight forward (as if hitting the lower part of the drum set).
4) Movement direction
Your movements do not need to look exactly like the images in the manual. Natural, clear movements work best.
5) Check the calibration
Use the Voice and Volume (+/–) buttons to check whether each stick triggers the correct drum.
If the calibration is correct, the corresponding colors/lights will show on the sticks.
6) Getting used to playing
Especially in the beginning, it may take some time to get used to the feel. With a bit of practice, accuracy and control usually improve quickly.
Important Notes
If the sticks touch each other, the calibration may be lost and must be done again.
Video Tutorial
We also recommend this short YouTube video with a visual step-by-step explanation:
https://www.youtube.com/watch?v=Zy__nmeldgU
https://www.youtube.com/watch?v=5_RTppBxb3Y
We hope this guide helps you and improves your playing experience.
Yes — there is a minimal delay of about 6 ms. Keep the receiver and the speaker as close to you as possible for the best experience (more stable and less noticeable). Overall, it’s a positive experience.